Tag: HomeLab

HPE ProLiant DL20 Gen9 Home Lab

This blog post is about replacing my current 24×7 Lab with a new set of two HPE ProLiant DL20 Gen9 servers. In this blog post, I am going to tell you about the configuration of the machines and how they are running on VMware ESXi. Also, I am going to compare them to my other lab hardware and my past home lab equipment.

Hardware

So let’s kick off with the hardware! The HPE DL20 Gen 9 servers I bought were both new in the box from eBay and I changed the hardware components to my own liking.

A couple of interesting points I learned so far nearly all servers that you will find for sale are provided with an Intel Xeon E3-12XX v5 processor. One item you need to take into account: yes you can swap the CPU from a v5 to a v6 like I did but you need to replace the memory modules also! The memory modules are compatible with a v5 or v6 processor but not both ways. The Intel Xeon E3-12XX v5 CPUs are using 2133 MHz memory and the Intel Xeon E3-12XX v6 CPUs are using 2400 MHz memory. So keep that in mind when swapping the processor and/or buying memory.

In the end, after some swapping of components, I ended up with the following configuration. Both ProLiant servers have an equal configuration (like it should be in a vSphere cluster):

ComponentItem
Vendor:HPE
Model:DL20 Gen9
CPU:Intel® Xeon® Processor E3-1230 v6
Memory:64GB DDR4 ECC (4 x 16GB UDIMM @2400MHz)
Storage:32GB SD card on the motherboard
Storage controller:All disabled
Network card(s):HPE Ethernet 1Gb 2-port 332i Network Adapter
Expansion card(s):HPE 361T Dual-Port 2x Gigabit-LAN PCIe x4
Rackmount kit:HPE 1U Short Friction Rail Kit

Power usage

So far I have measured the power usage of the machines individually with the listed configuration in the hardware section. When measuring the power usage the machine was running VMware ESXi and on top of about seven virtual machines that were using about 30% of the total compacity. I was quite amazed by the low power consumption of 31.7 watts per host but I have to take into account that this is only the compute part! The hosts are not responsible for storage. Here is a photo of my power meter when performing the test:

Screenshot(s)

Here are some screenshot(s) of the servers running in my home lab environment and running some virtual machine workload:

  • Screenshot 01: Is displaying one of the hosts running VMware ESXi 6.7 (screenshot from HPE iLO).
  • Screenshot 02: Is displaying one of the hosts connected to VMware vCenter and running virtual machines.
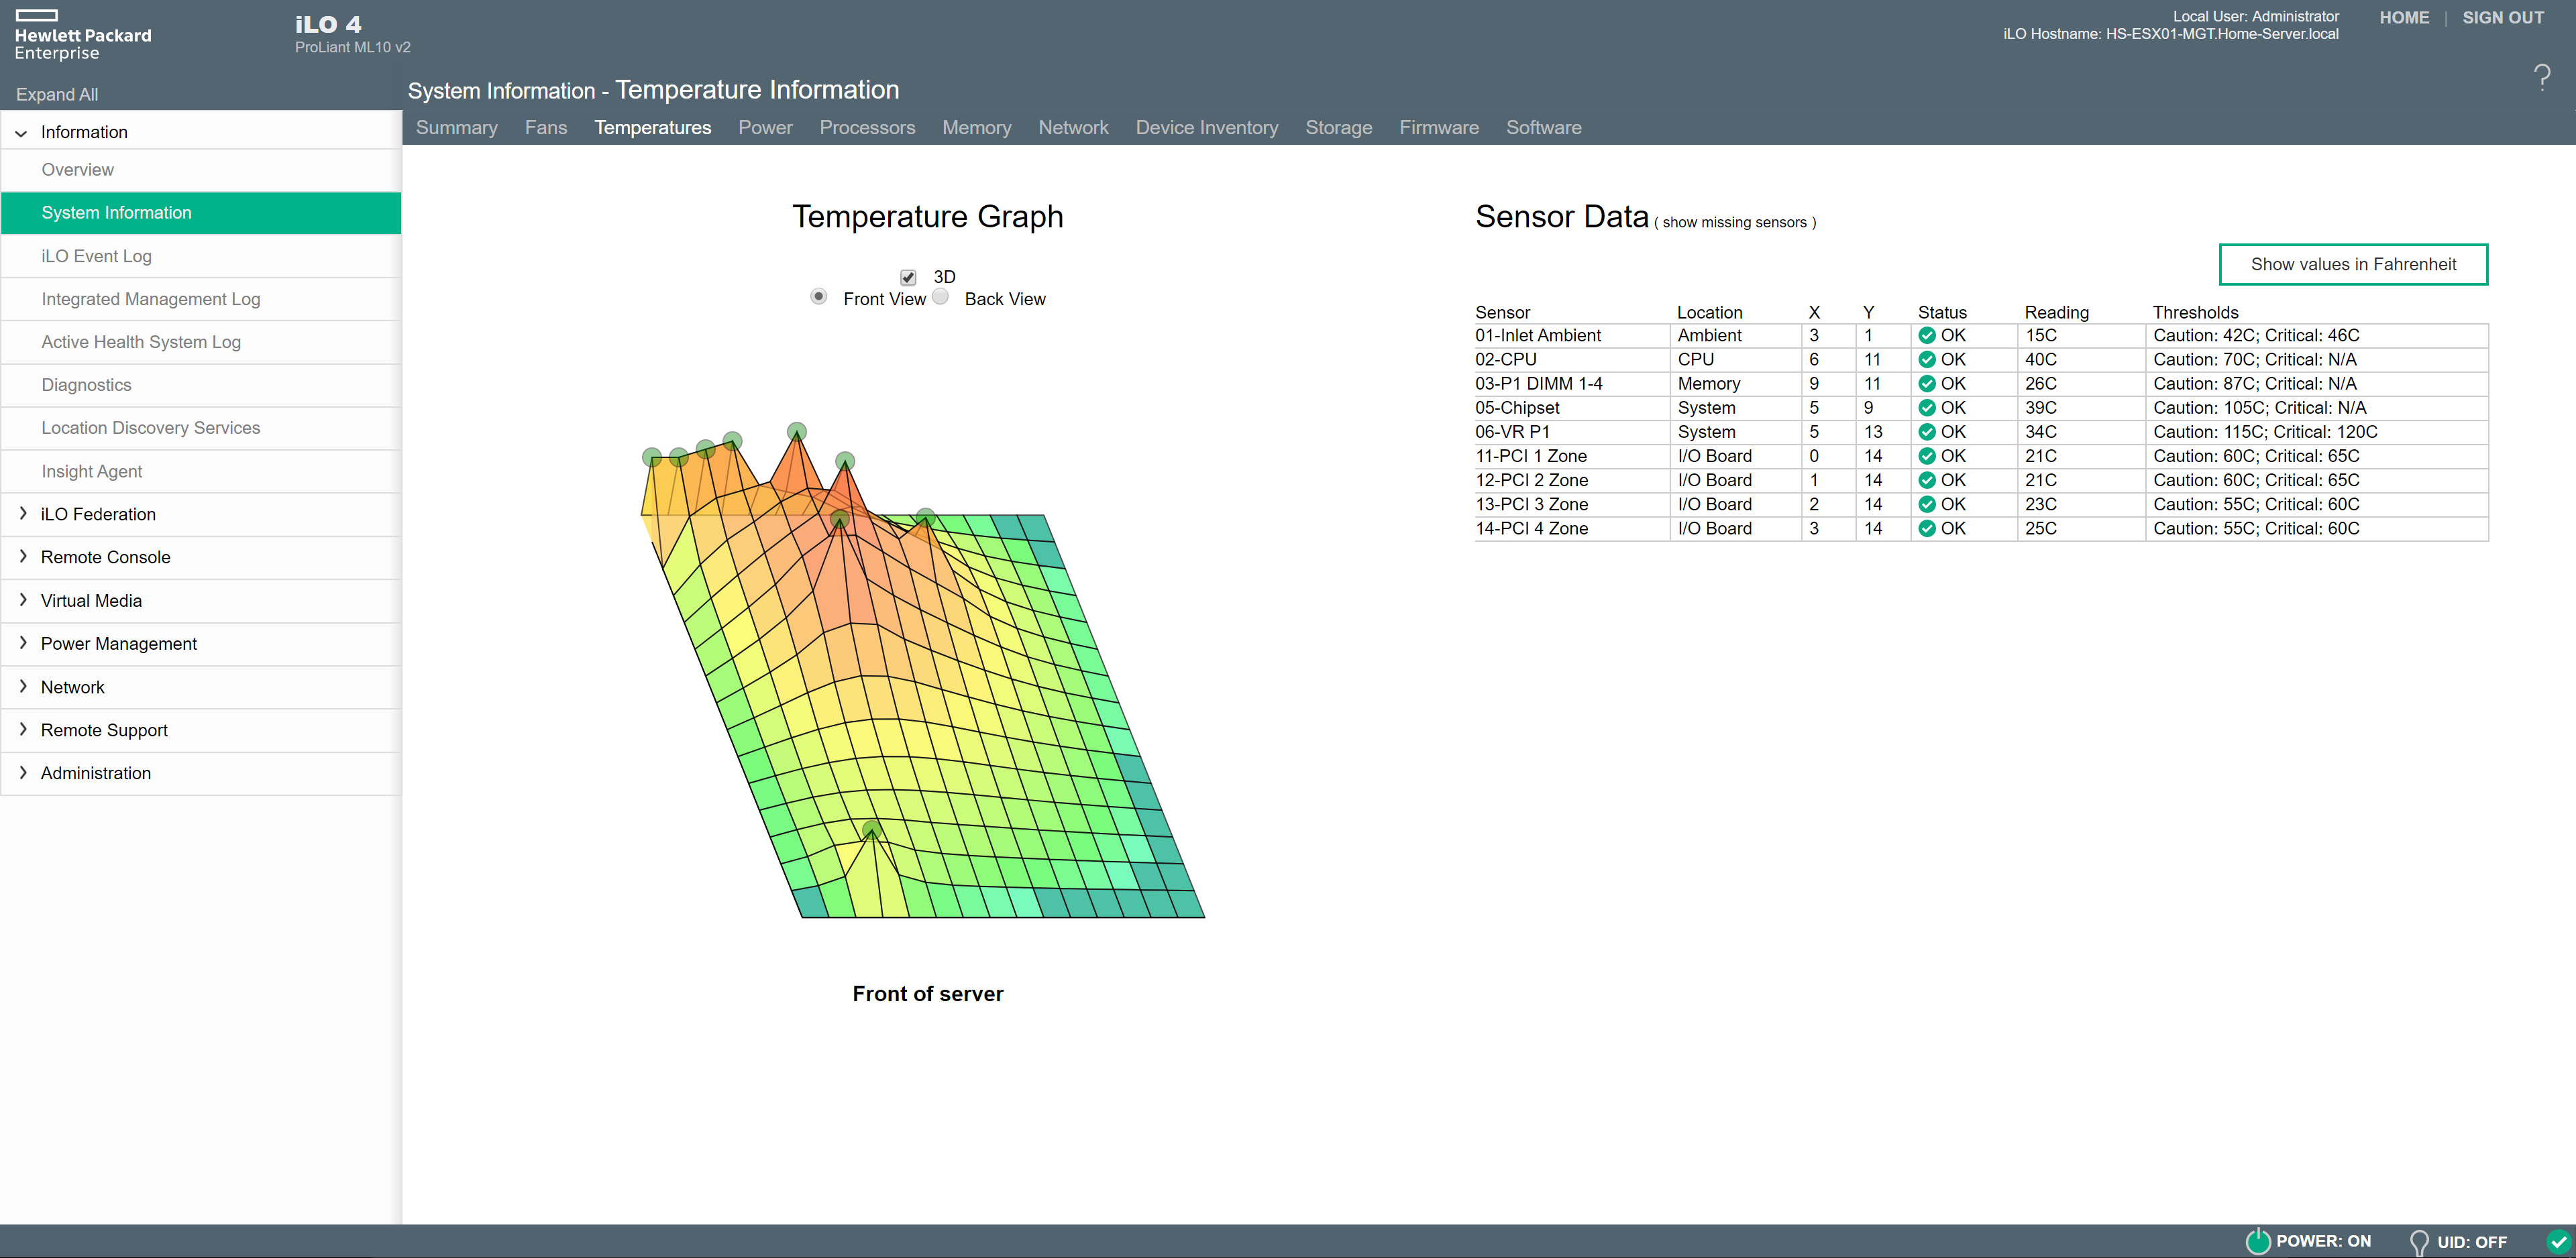
  • Screenshot 03: Is displaying one of the hosts HPE iLO web page.

Positives & Negatives

To sum up, my experience I have created a list of positives and negatives to give you some insight into the HPE ProLiant DL20 Gen9 as a home lab server.

Positives:

  • A lot of CPU power compared to my previous ESXi hosts, link to the previous setup.
  • Rack-mounted servers (half-size deep with sliding rails).
  • Out of band management by default (HPE iLO).
  • Power usage is good for the amount of compute power delivered.
  • No additional drivers are required for VMware ESXi to run.
  • The HPE DL20 Gen9 has been on the VMware HCL, link.

Negatives:

  • Noisy compared to my previous setup (HPE ProLiant ML10 Gen8). For comparison, the HPE ProLiant DL360 Gen8 is in most cases “quiet” compared to the HPE ProLiant DL20 Gen9.
  • Would be nice if there was support for more memory because you can never have enough of that in a virtualization environment ;).

Photos

Here are some photos of the physical hardware and the internals, I did not take any pictures of the hardware when the components were all installed. I am sorry :(.

  • Screenshot 01 – Is displaying both machines running and installed in the 19″ server rack.
  • Screenshot 02 – Is displaying the internals of the DL20 Gen9. Keep in mind this one is empty. As you can see in that picture the chassis is just half-size!

Wrap-up

So that concludes my blog post. If you got additional questions or remarks please respond in the comment section below. Thanks for reading my blog post and see you next time.

Synology DS1618+ Homelab Review

This blog post is about replacing my Synology DS1515+ with a Synology DS1618+. I was forced to replace my Synology DS1515+ because it fell victim to the Intel Atom bug twice. The Synology is used for my primary storage in my VMware Home Lab.

This blog post is a bit later than expected to be honest… I already swapped out the Synology NAS about eleven months ago! So this is going to be a review based on my eleven-months experience and so information about why I bought the DS1618+ as a replacement.

Synology DS1515+ Atom Bug

In about six months two Synology DS1515+ past away in my Home Lab because of a hardware issue. One day they are working as they should and the next day you come home and they are dead. No lights, no sound, nothing is working “Bricked”.

The Synology DS1515+ is not a bad device… but it is using the Intel Atom C2000 CPU that is notorious for failing because it has an internal fault.

To get it clear it is not the fault of Synology… A lot of other vendors are also dealing with the Intel Atom C2000 fall out. Like Asrock, Cisco, HP, Netgear, Supermicro, and this list goes on. Here is an article from The Register with some more information surrounding this topic.

That is enough about the old let’s move on to the new!

Synology DS1618+ Setup

Here is an overview of the current Synology DS1618+ setup in my Home Lab environment. I have created two LACP bonds to load balancing iSCSI traffic from VMware ESXi on two dedicated VLANs.

  • Synology DS1618+ (default 4 GB memory/upgraded to 32 GB)
  • Storage pool 1: 2x Samsung EVO 850 500 GB – RAID 1
  • Storage pool 2: 2x Samsung EVO 860 500 GB – RAID 1
  • Storage pool 3: 2x Samsung EVO 860 500 GB – RAID 1
  • Network: 2x 1 Gbit LACP and 2x 1 Gbit LACP

All three storage pools represent a VMware Datastore and are made available with iSCSI to the VMware Hosts.

Here is an image that illustrates the current storage setup of my Home Lab environment. Nothing too fancy, all ports in the illustration are 1 Gbit.

Performance

Let’s start by looking at the Synology DS1618+ performance! An important aspect in my environment, it is not the size that matters but the speed!

Network

I have moved my SSD drives from the Synology DS1515+ to the Synology DS1618+ and the performance is identical… Say what? This is because the are limited to the same issue! Both devices are running against the network bandwidth limitation.

Both devices are out of the box delivered with 4x 1 Gbit network interfaces which can be easily matched by the three storage pools that I have installed.

Luckily the DS1618+ has an expansion slot, this is something the DS1515+ does not have! You can install a 10 Gbit network card which will improve the bandwidth drastically!

Memory

Already the memory issues/limitations in another blog post. Here is a reference to that blog post on my website.

Power Usage

Like all my Home Lab devices I like to know what the power usage is of each device. Synology indicates the following power consumption values on their website:

Factory measurementsWattage
Power Consumption – HDD Hibernation25.76 Watt
Power Consumption – Access 56.86 Watt

I have tested this with my power meter. In my case, the system was booted up and was supplying two ESXi Host with storage and a total of fourteen active virtual machines. The room temperature was 20 degrees celsius. I personally think 21.1 watts is not bad at all 🙂 surely compared to the DS1515+ that was using 25.3 watts with two drives less!

Tips

Here are some tips I have learned so far about the Synology DS1618+ unit:

  • If you are in need of performance install a 10 Gbit expansion card in the expansion slot of the DS1618+. Surely when using all-flash storage! This will easily outperform the out of the box network cards (4x 1 Gbit).
  • Install as much memory as you can in the device, this will reduce the disk swapping of the Synology OS and increase the performance and stability of the virtual machines running. Here is my blog post about this issue.
  • I have performed some tests with a cache drive that was an SSD device with a storage pool that was also an SSD device this did not improve performance (a maximum of about 5% in total, which is quite low if you ask me). If you are interested in a cache drive look at the NVMe expansion card but beware you only got one slot so… or you go with an NVMe expansion card or 10 Gbit NIC. So choose wisely depending on your requirements.

If you got some additional tips for people who are interested in a DS1618+ please respond below!

Sources

Here are some interesting websites related to the Synology DS1618+:

ProLiant ML10 v2 CPU Swap

In this blog post, I am talking about the HPE ProLiant ML10 v2 home lab servers that I have been using for the last three years. I had some performance issues related to the processor with the number of virtual machines and containers running on the little ML10 v2 servers. So it was time for a CPU Swap!

On the internet, there are a lot of speculations on which CPUs are supported in the HPE ProLiant ML10 v2. So that is why I did this blog post.

The servers were originally bought with Intel® Pentium® Processor G3240 CPUs. This was the smallest CPU available at the time. At first, I was looking at the Intel Xeon E3-1220 v3 CPUs but I decided to buy the Intel® Core™ i3-4170 Processor on Ebay.com for a couple of bucks. The choice was related to the pricing difference and the amount of power usage.

I can confirm that both HPE ProLiant ML10 v2 servers detected the i3-4170 CPUs without any issues. The systems are running 24×7 and the CPU temperature is around fourth to fifty degrees with the fans running on their lowest operating mode.

Comparison

As you already figured out the G3240 is a slow CPU compared to the i3-4170. So it was a well worth invested upgrade it for about 40 euro’s for both CPUs in total.

The hypervisor (VMware ESXi) and workload performance improved drastically. Because of the additional instruction sets like AES-NI and clock speed. So it was a good investment at least in my opinion.

Here is a comparison provided by the Intel ARK website. Click here for the link.

Screenshot(s)

Here are some screenshots of one of the HPE ML10 v2 server that was upgraded with the new CPU. As you can see the screenshots are from the HPE Integrated Lights-out or in short (iLO). The first screenshot is of the new CPU that is detected, the second one is the memory configuration and the third screenshot is the operating temperatures after running a couple of days with the workload.

Result

As you can see the Intel i3-4170 CPU is working without any issues in the ML10 v2 server. Currently, they have been running for about 100 days without any reboot. So I can confirm they are stable and do not overheat! The CPU swap is successful!

Notes:

  • I use stock cooling.
  • I do not use a modified BIOS.

Thanks for reading and see you next time!