In this blog post, we are going to deploy VMware vCenter 6.7 Update 1 in my Lab environment. The deployment is fully covered with all the additional notes required to perform a successful installation, migration or upgrade. I also added some guidelines for designing your environment.
Now that vSphere 6.7 Update 1 is available since the announcement on VMworld 2018 US, it is a good time to start looking at vSphere 6.7 instead of vSphere 6.5.
Why should you look at vSphere 6.7 you might ask? vSphere 6.5 is still running like a charm! Yes you are correct but… there are a couple of items to consider:
- A fully working vSphere Client (HTML 5).
- Longer support lifecycle.
- VMware vCenter is been become a lot quicker compared to his predecessor.
- vMotion for vGPU.
- And a lot more items!
If you are familiar with the VMware vCenter 6.5 graphical deployment it has been improved in VMware vCenter 6.7. In the past it was a web-based wizard, with 6.7 it is a binary executable. This means a lot faster and better-responding interface and it removes the browser dependency and browser plug-in on your workstation.
Checklist
The checklist items can be verified, days or hours before the initial deployment. If you don’t have a plan before installing, migrating or upgrading things will turn out ugly…
With the checklist, you can determine if your environment is ready for vSphere 6.7 Update 1. It’s about checking and validation your current software and hardware and talking to your vendors about compatibility.
I have also added some design decision ideas. Because you can choose to install, upgrade or migrate without looking at your current architecture but maybe it is time to update your current architecture (design).
- Make sure that all connected/used VMware products are compatible like (vRealize Automation / vRealize Orchestrator / vRealize Operations Manager / VMware Horizon and the list goes on). This can be verified on the VMware Product Interoperability Matrices page.
- Make sure that all third-party products are compatible like (Backup & Replication software / Storage vendor software).
- Determine the correct sizing for your environment. How many virtual machines and ESXi Hosts are going to be running underneath this vCenter Server. These figures determine your vCenter Server size.
- An embedded Platform Services Controller (PSC) is the way to go in the future. An external Platform Services Controller will not be available anymore in the future.
- Where is Windows? Please read this article from more than one year ago. Please do not deploy a vCenter Server on Windows. This is a thing of the past.
- Verify the Hardware Requirements for the vCenter Appliance (depending on your chosen size and internal or external PSC).
- Do you deploy against an ESXi Host or a vCenter Server?
- Is your ESXi host hardware compatible with vSphere 6.7 Update 1?
Preparation
The checklist is completed and you have determined that everything is working or is acceptable to continue. Let’s start with some basic stuff that is required:
- Read the release notes (VMware vCenter Server 6.7 Update 1 Release Notes).
- Download the latest release from the VMware website.
- Create firewall rules for your new vCenter Server.
- Create forward and reverse DNS records in your DNS Server.
- Register your IP information in your IPAM system.
- Save your passwords in your Password Management system (Appliance password / SSO password).
- Have a workstation ready to perform the deployment with sufficient network access and administrative rights.
Deployment
Let’s start the deployment of VMware vCenter 6.7 Update 1. I have chosen for a clean installation of VMware vCenter 6.7 Update 1. I have chosen for an embedded Platform Services Controller (PSC). Based on my total amount of virtual machines and ESXi Hosts I have selected a “Small” installation footprint.
The new deployment process for vCenter Server 6.7 Update 1 consists out of two stages, one is the deployment stage and one is the setup stage.
The first part is mainly responsible for delivering the full appliance with the operation system, network settings, and installation application bundles. The second part is configuring the applications that are running on the vCenter Server. A total installation takes about 45 minutes to complete.
Procedure:
- Mount the vCenter Server media (iso file).
- Navigate to the following path “X:\vcsa-
ui -installer\win32\” (X stands for the CD-ROM drive label). - Run the following application “installer.exe“.
- Follow the wizard, I have
uploadedall screenshots for reference.
Stage 01 – Deployment
Here are the images of the first stage of the deployment of VMware vCenter 6.7 Update 1. I have no issues to report everything was working fine on the first try!
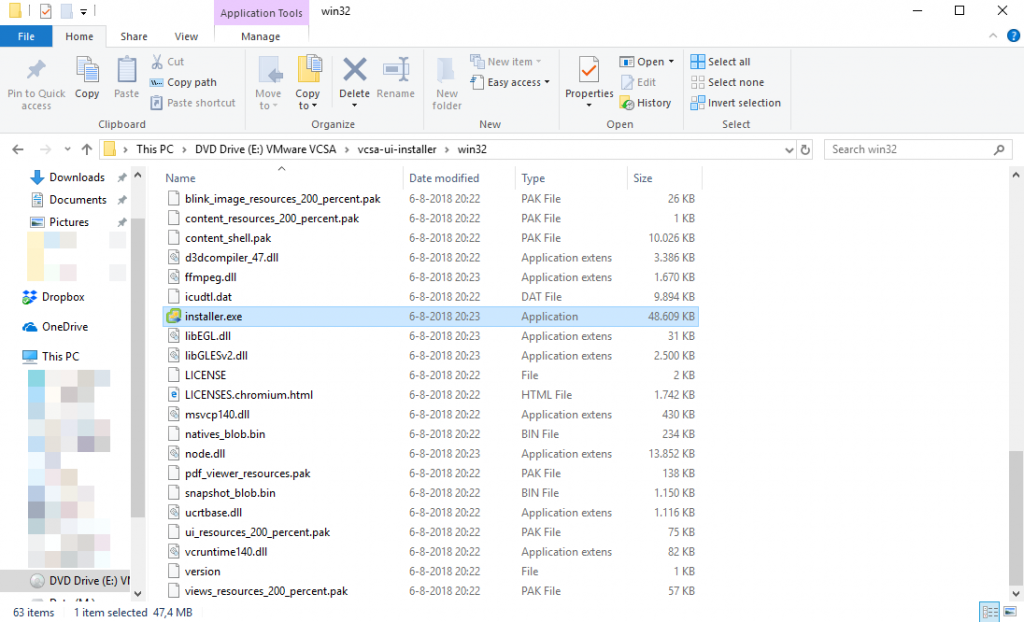
Locating the installer.exe 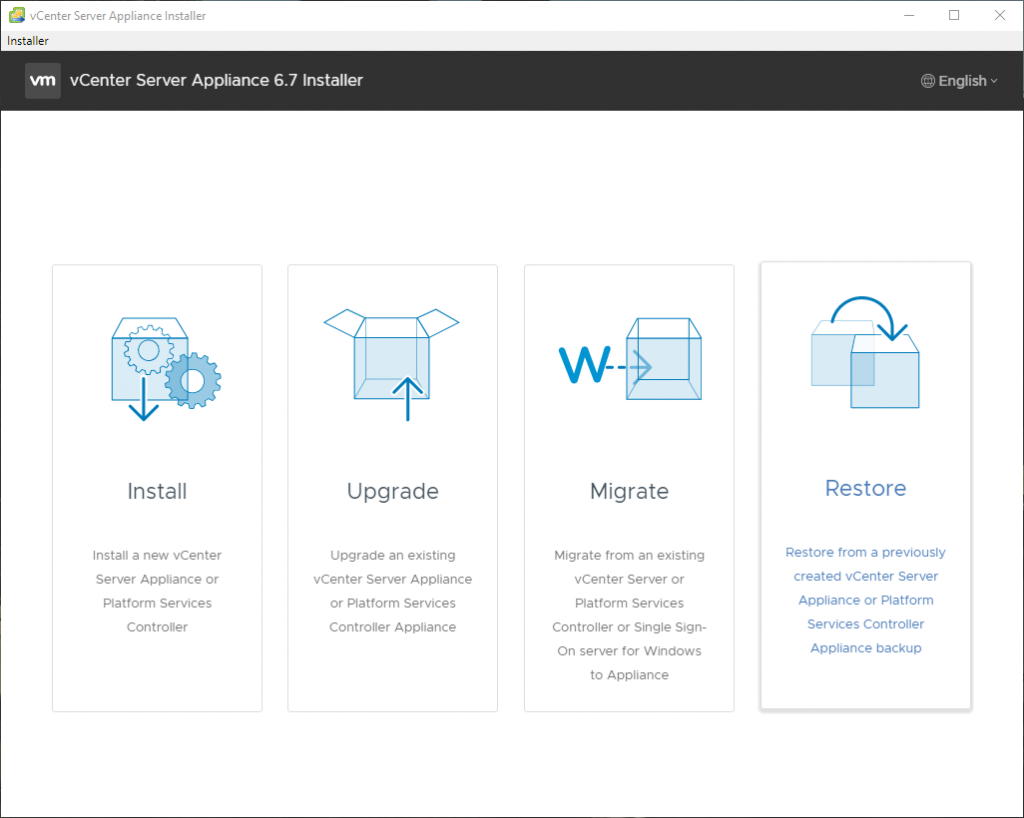
Option screen 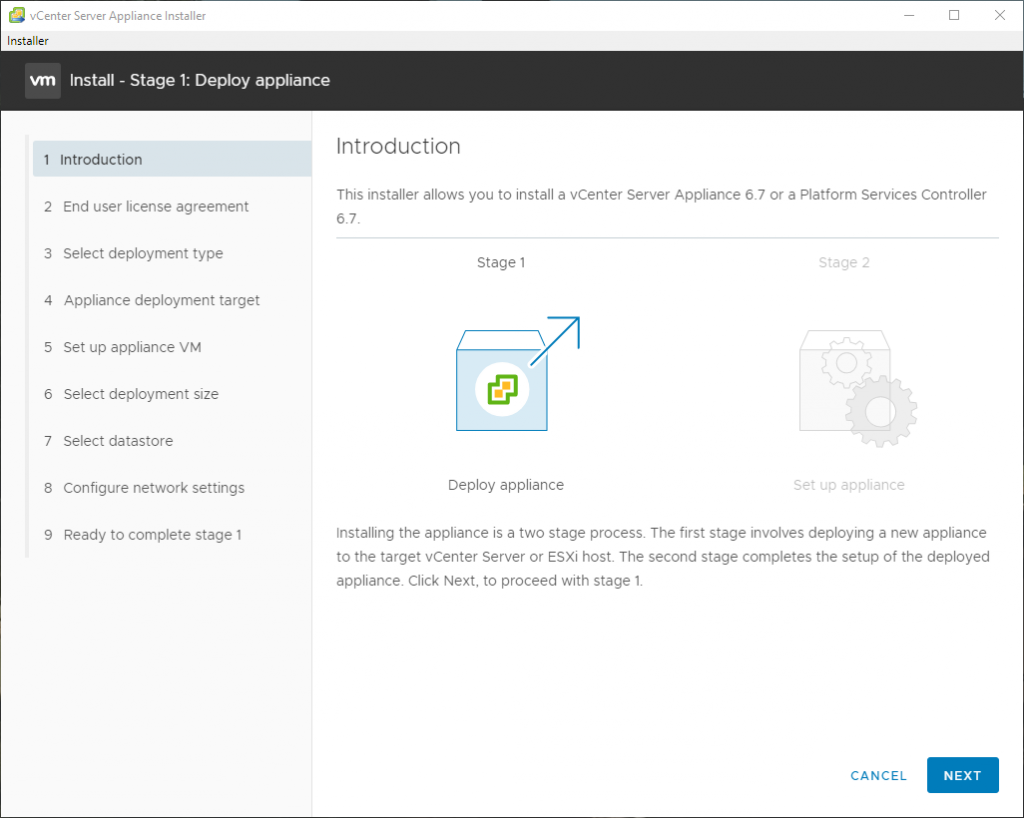
Introduction 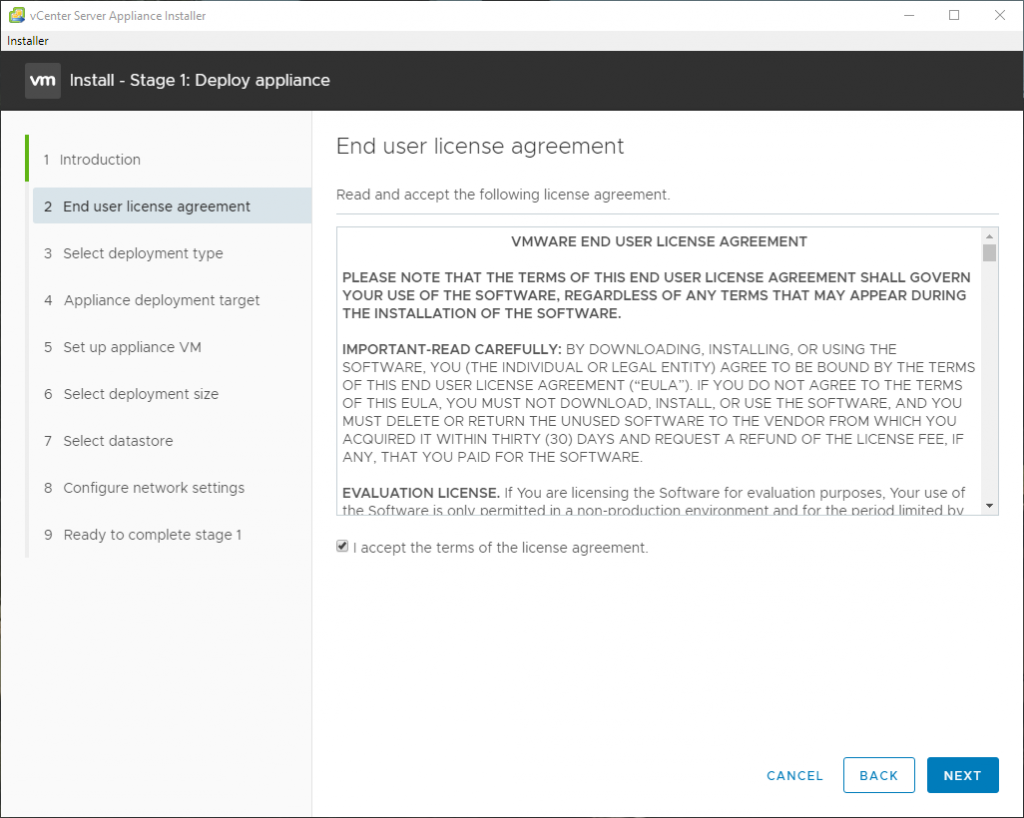
End user license agreement 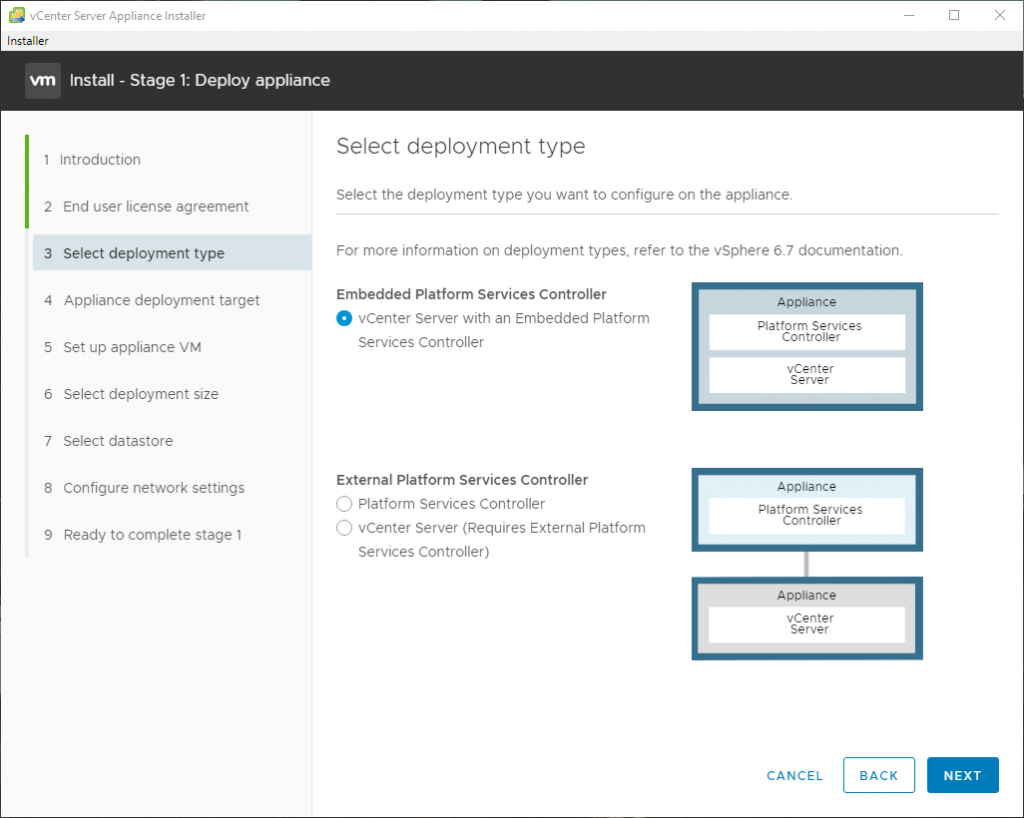
Select deployment type 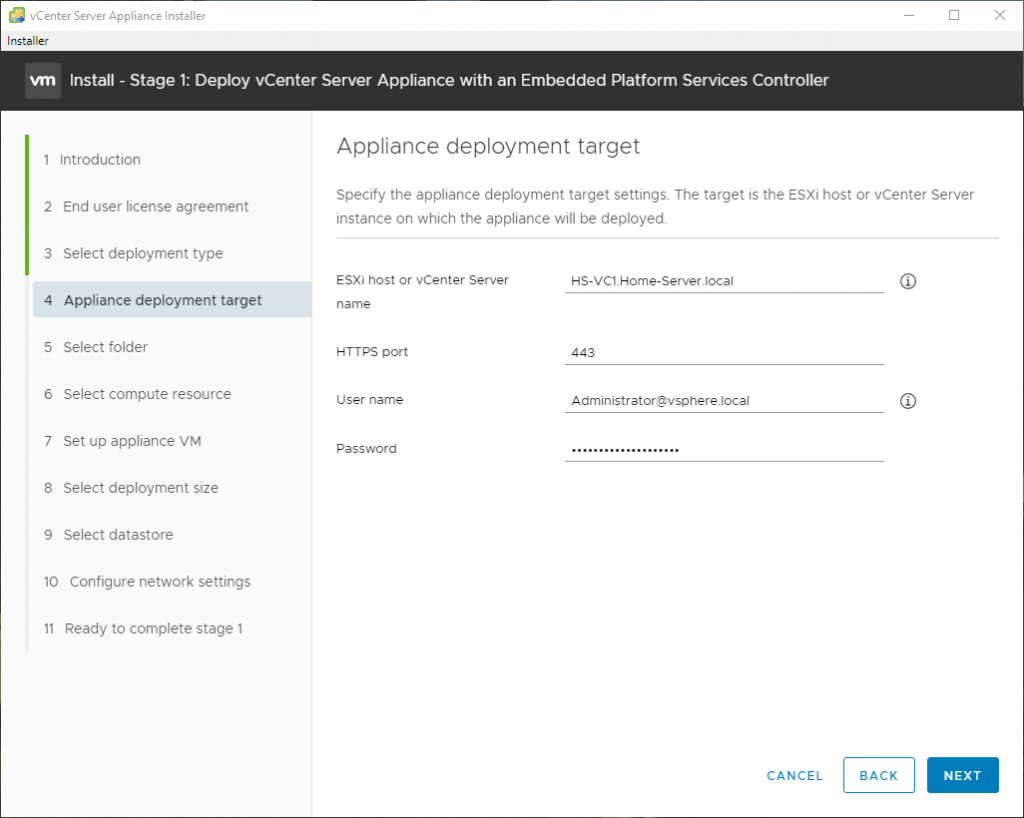
Appliance deployment target 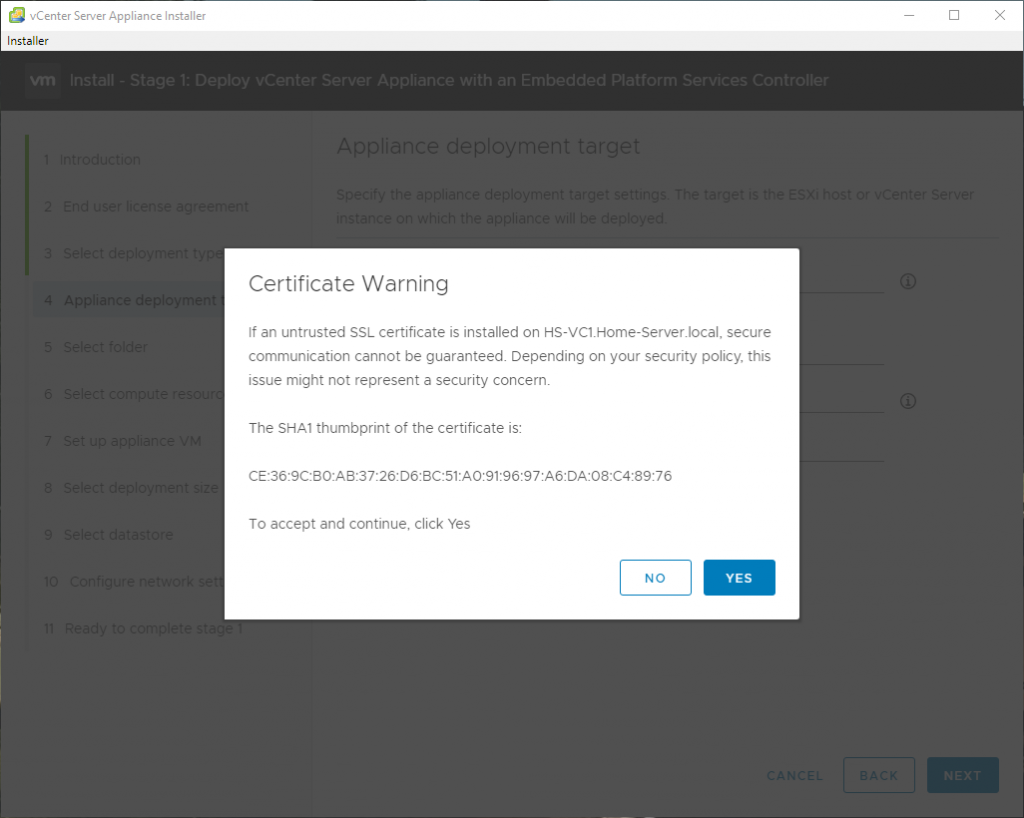
SSL Warning message 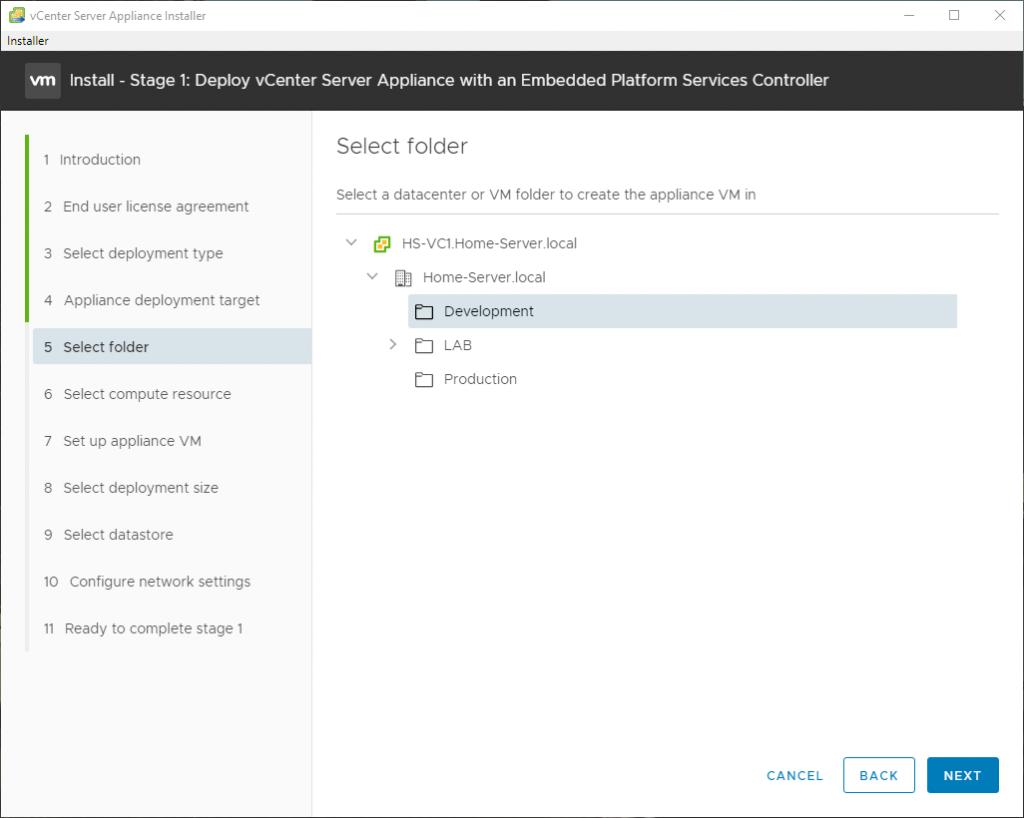
Select folder 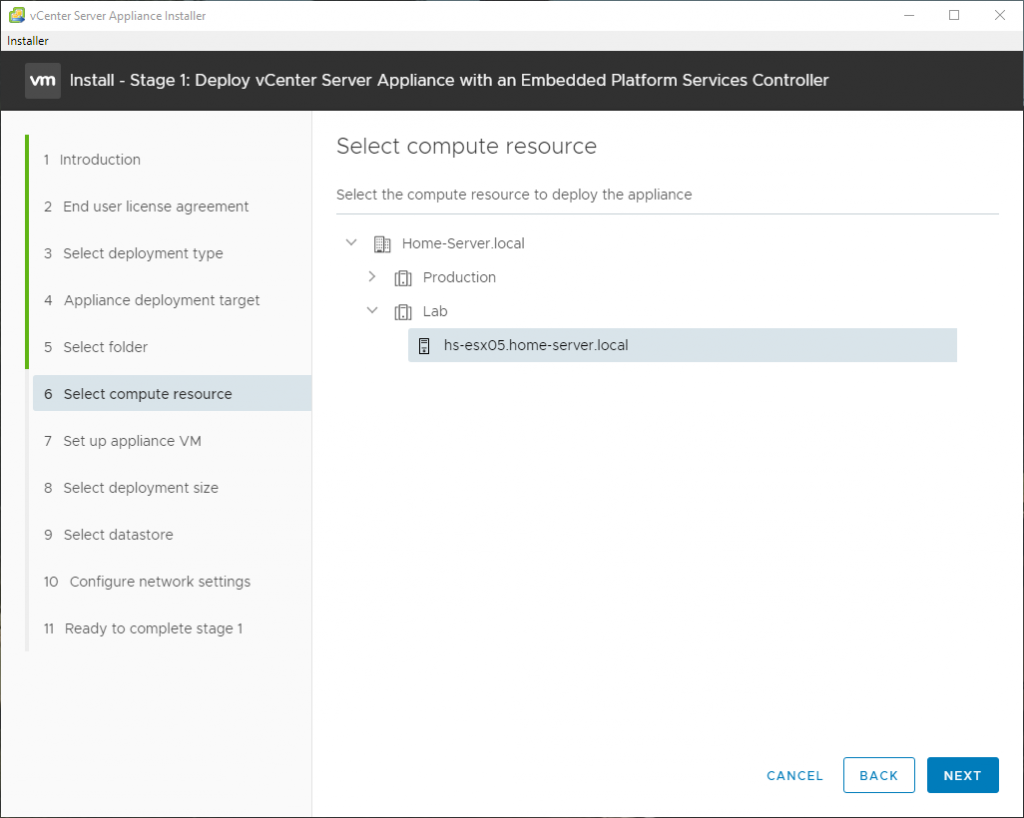
Select compute resource 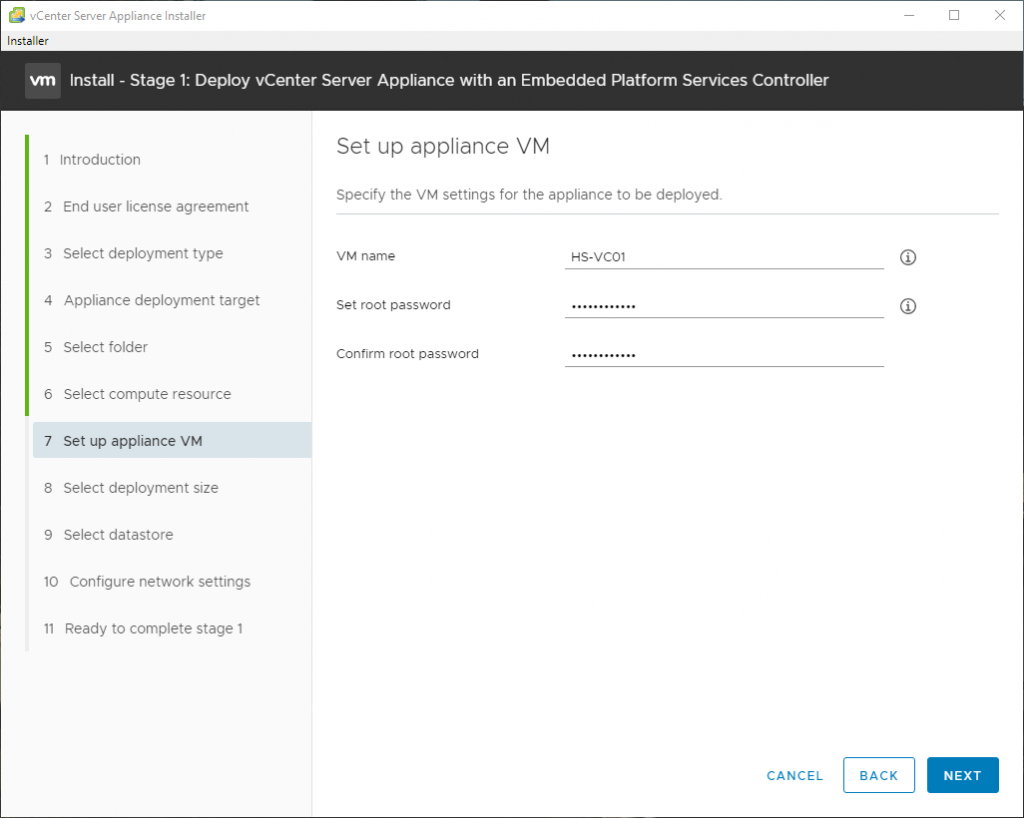
Set up appliance VM 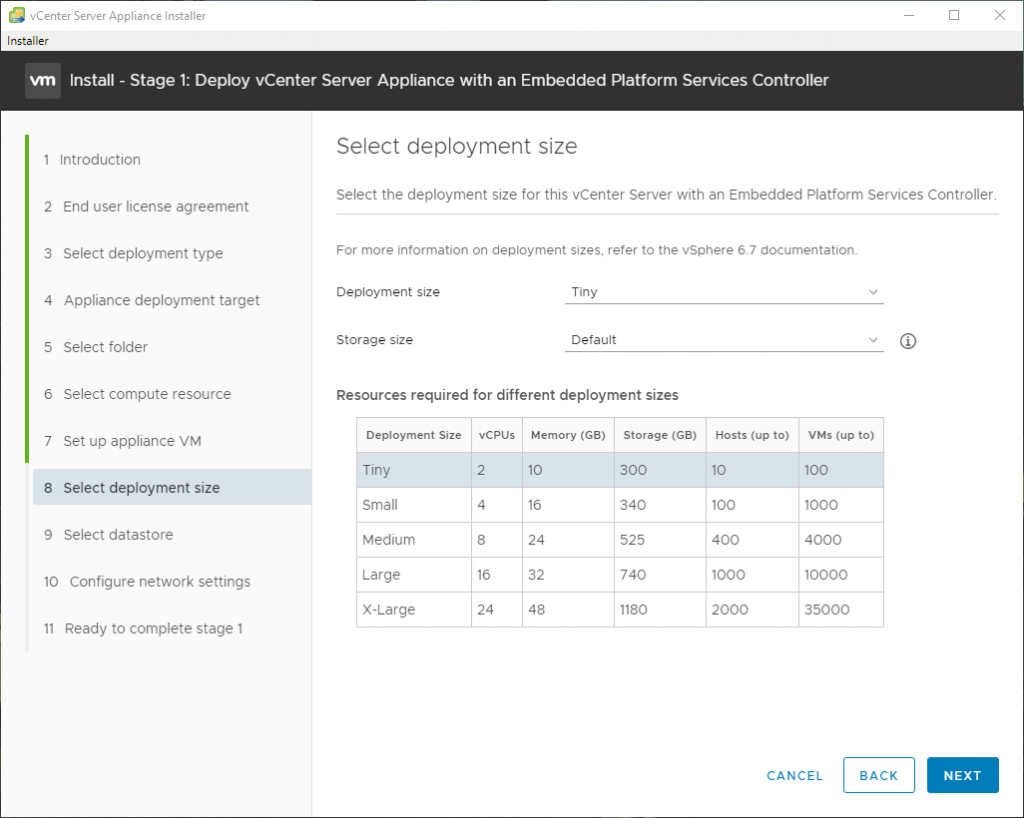
Select deployment size 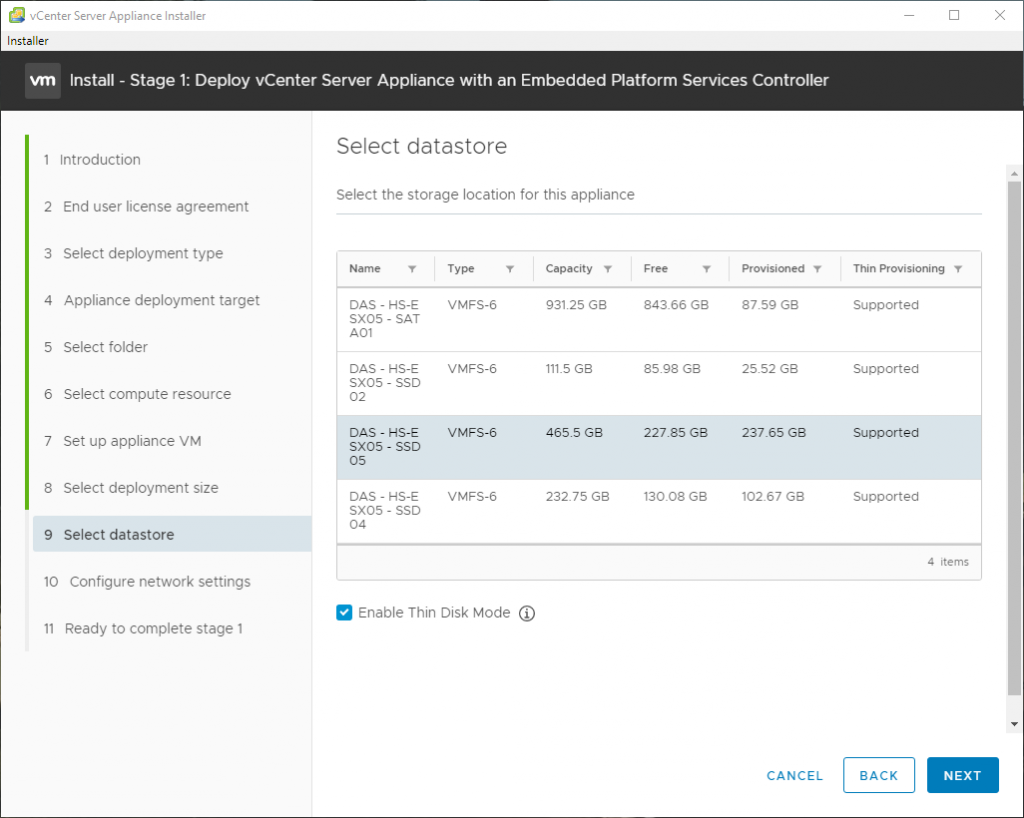
Select datastore 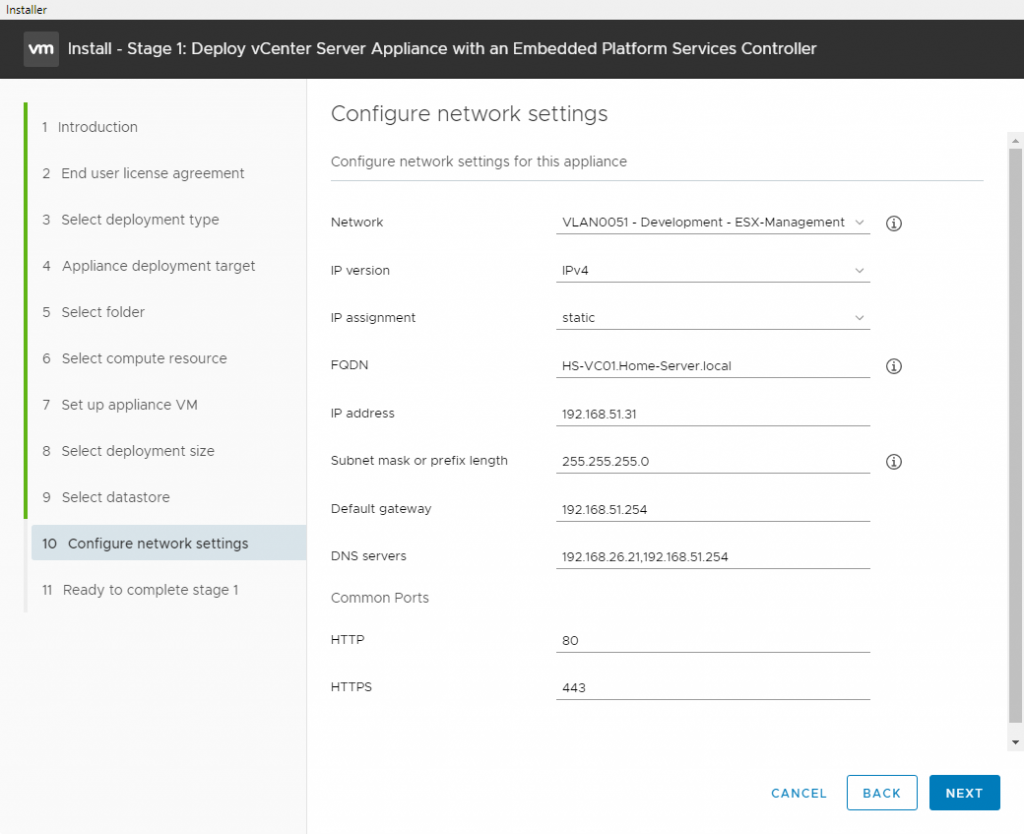
Configure network settings 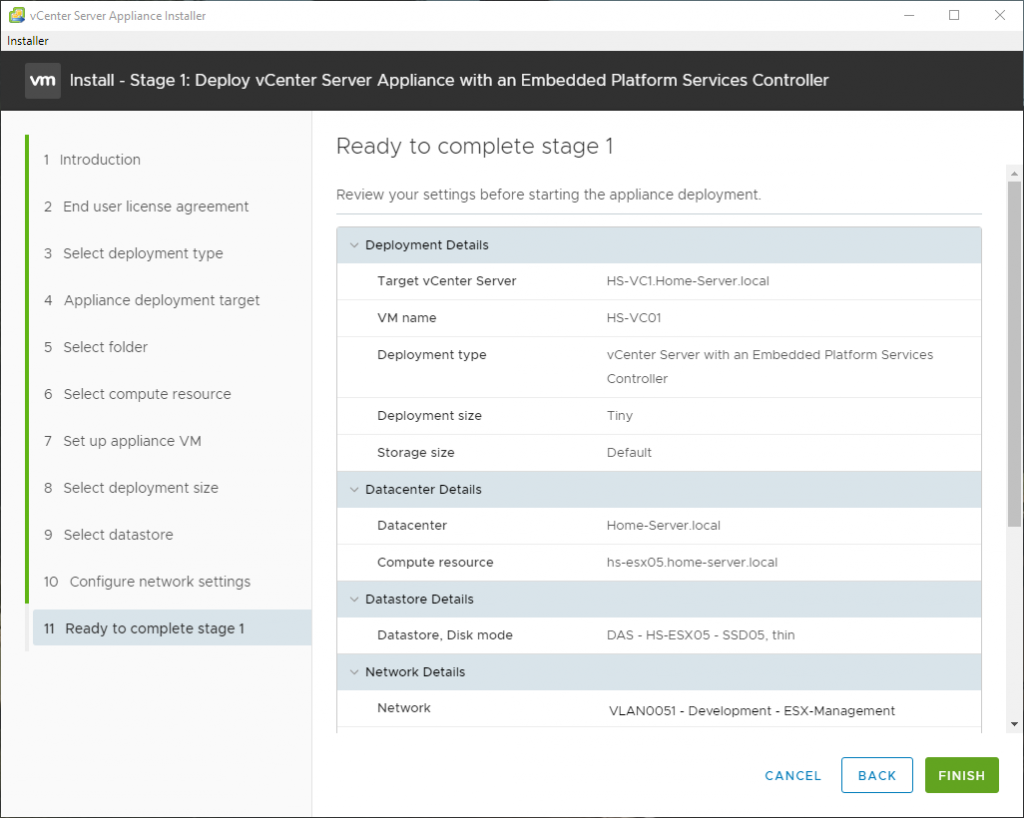
Ready to complete stage 1 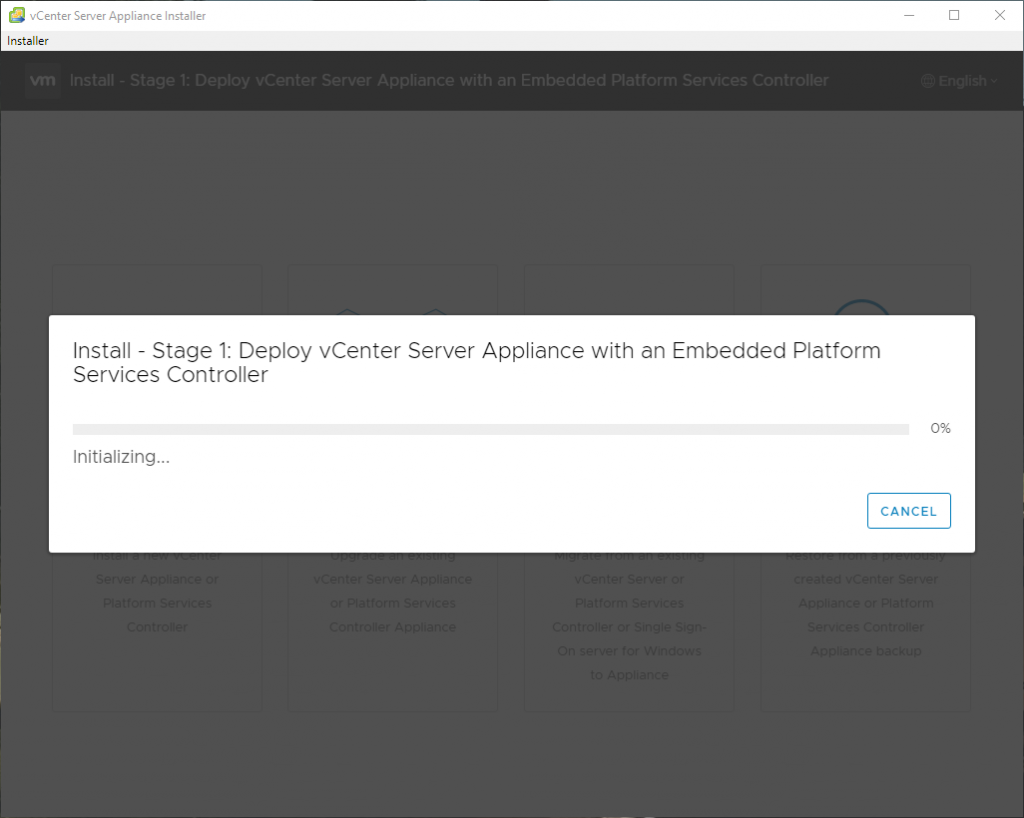
Deployment is busy 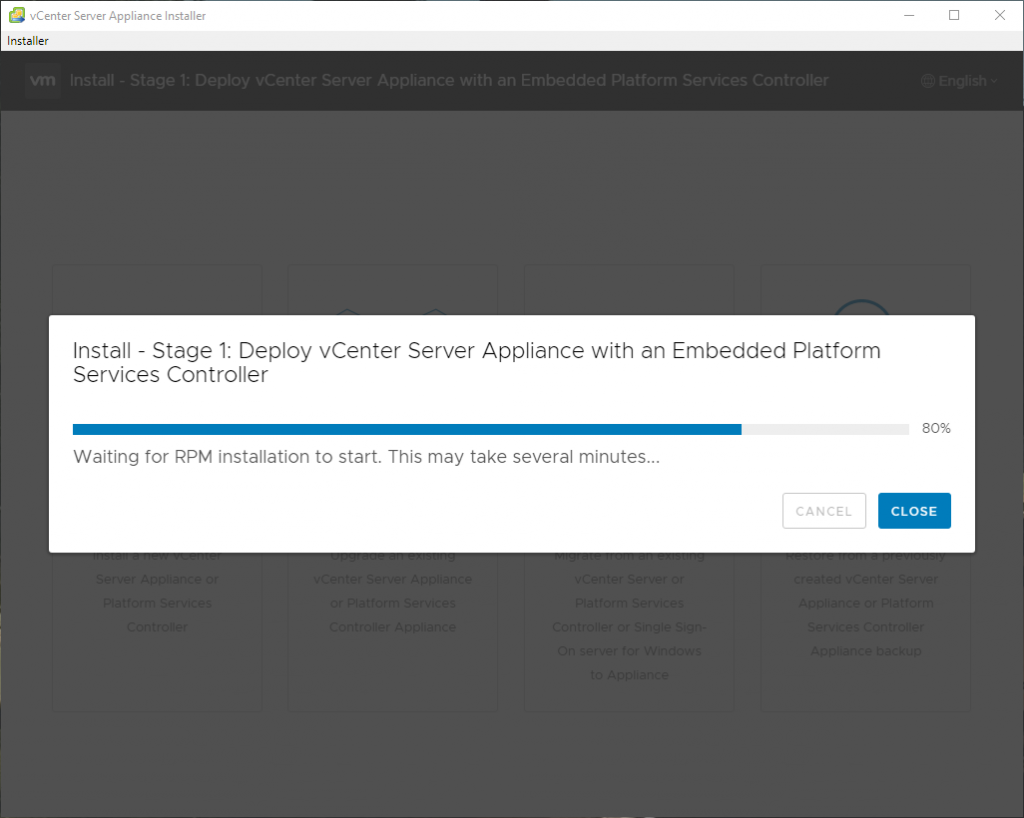
Deployment is busy 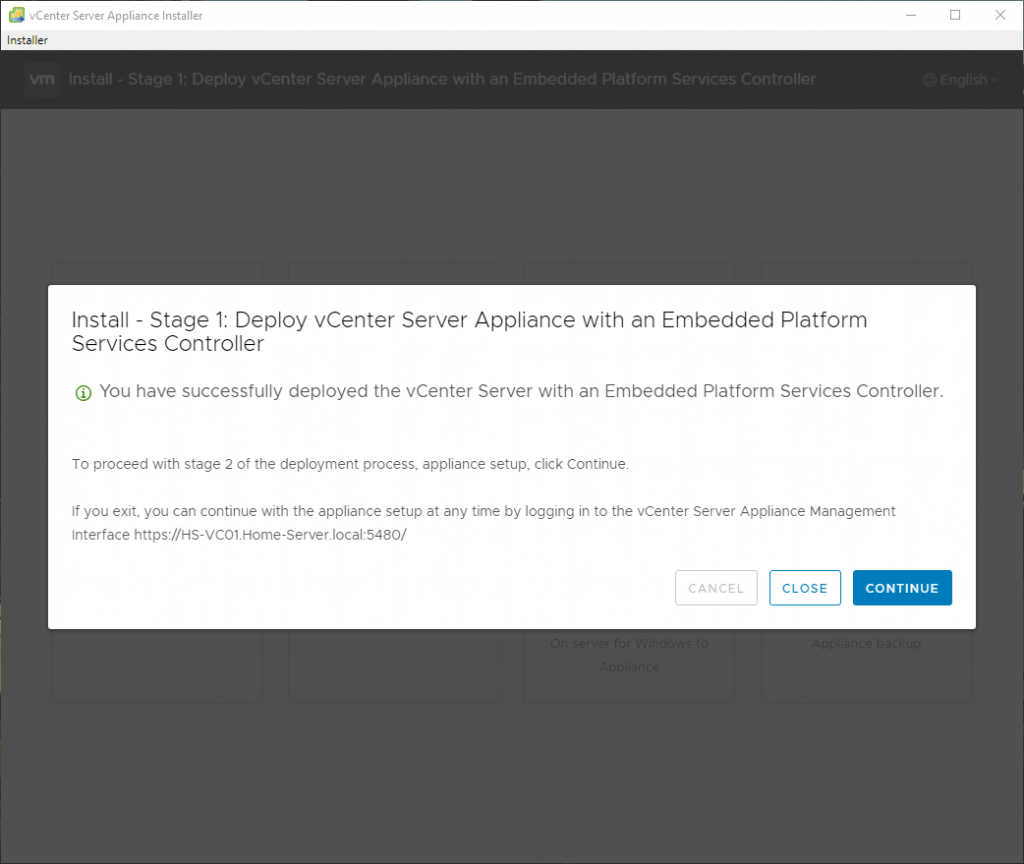
Stage 1 completed!
Stage 02 – Setup
Here are the images of the second stage of the deployment of VMware vCenter 6.7 Update 1. This part was also bug-free, so it was a good deployment.
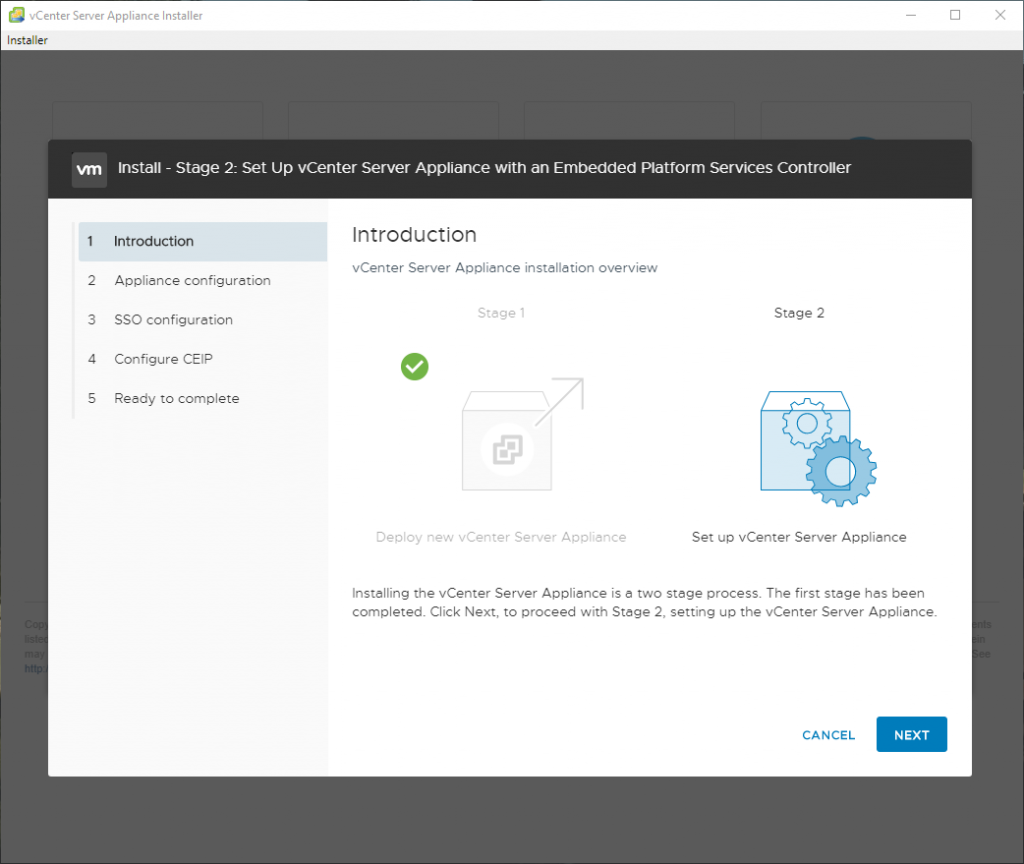
Introduction Screen 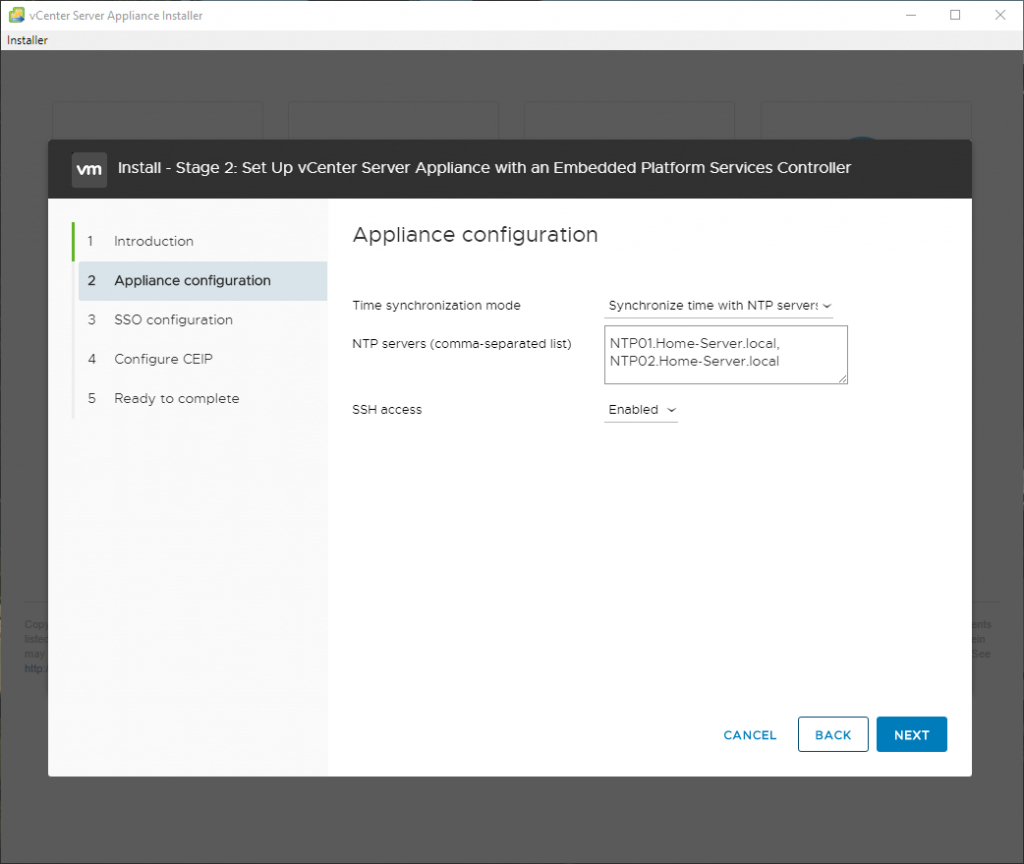
Appliance Configuration 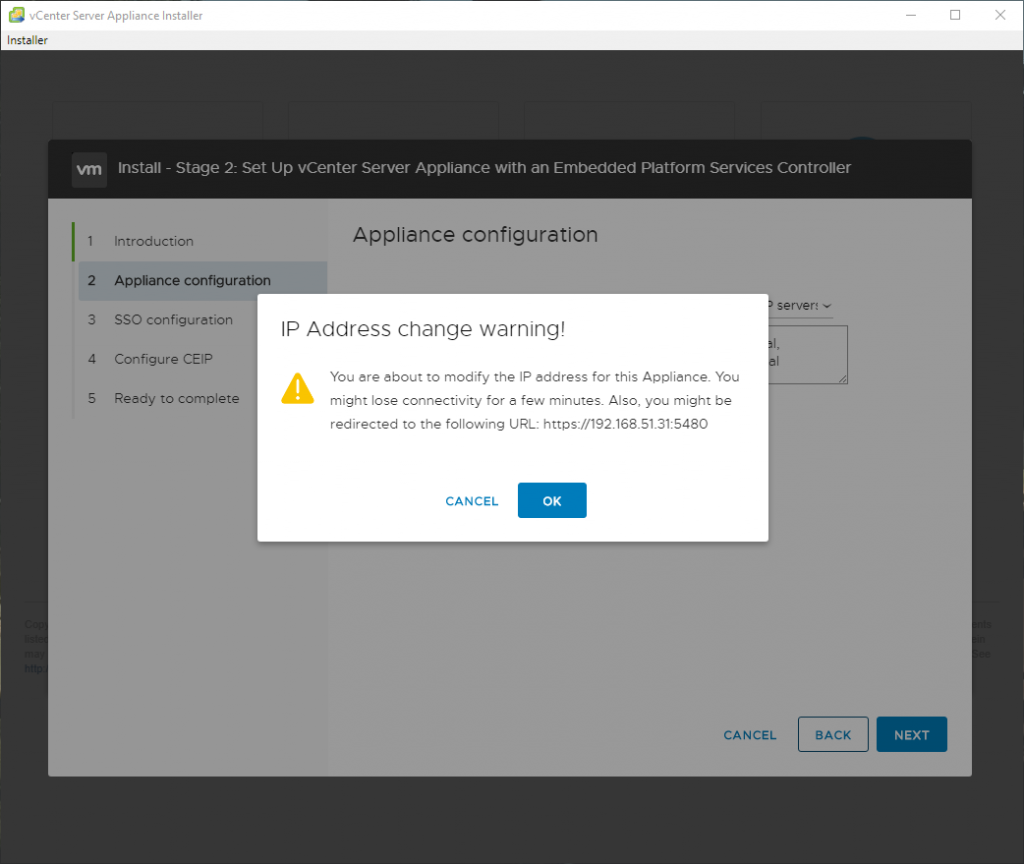
Warning about: IP Address change warning! 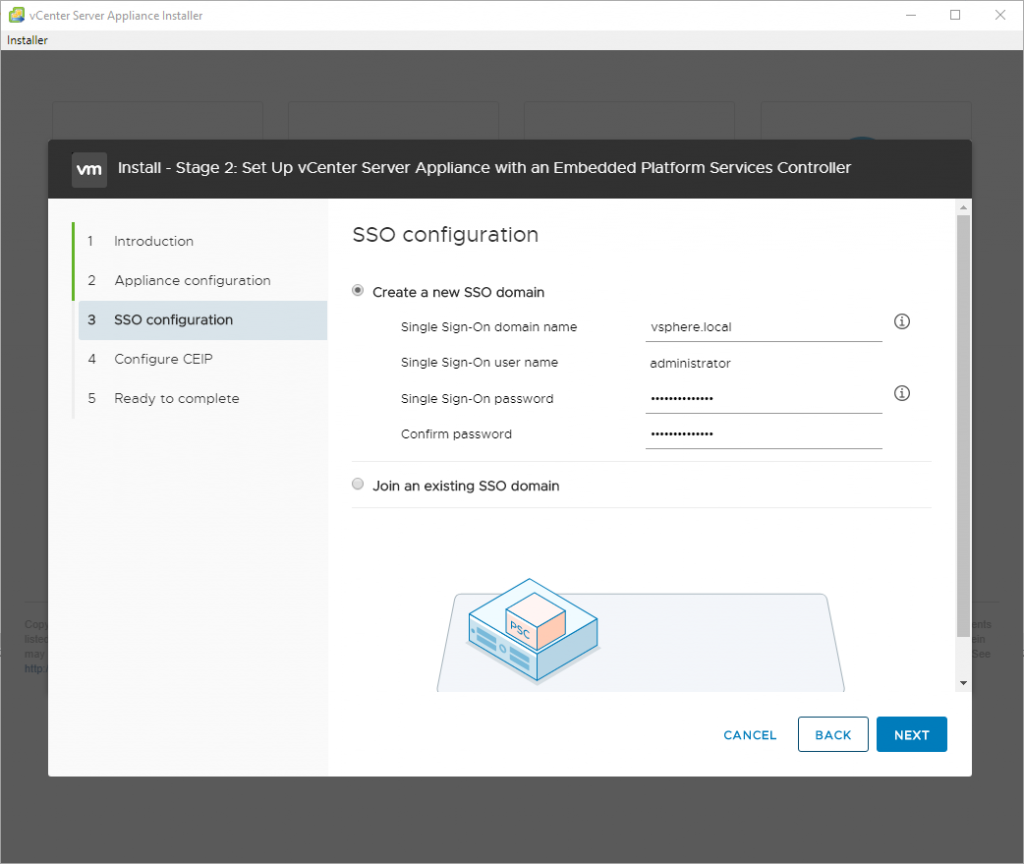
SSO Configuration 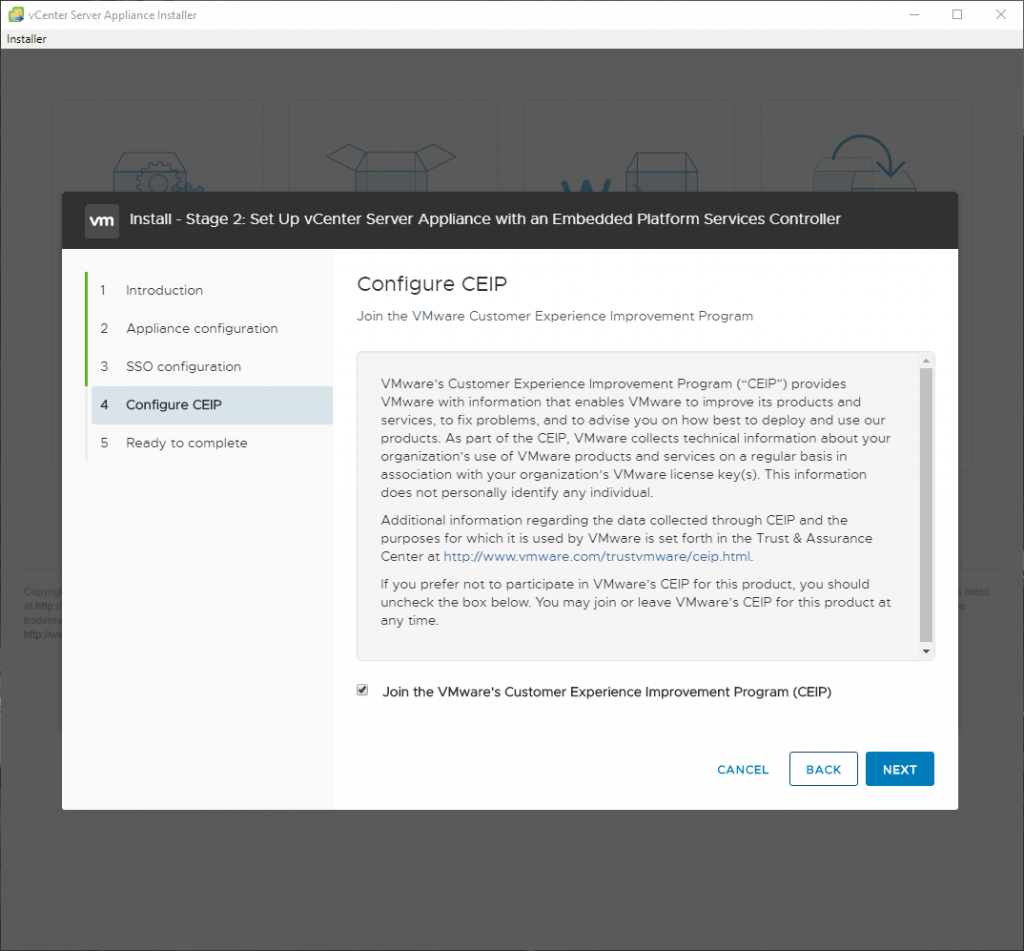
Configure CEIP 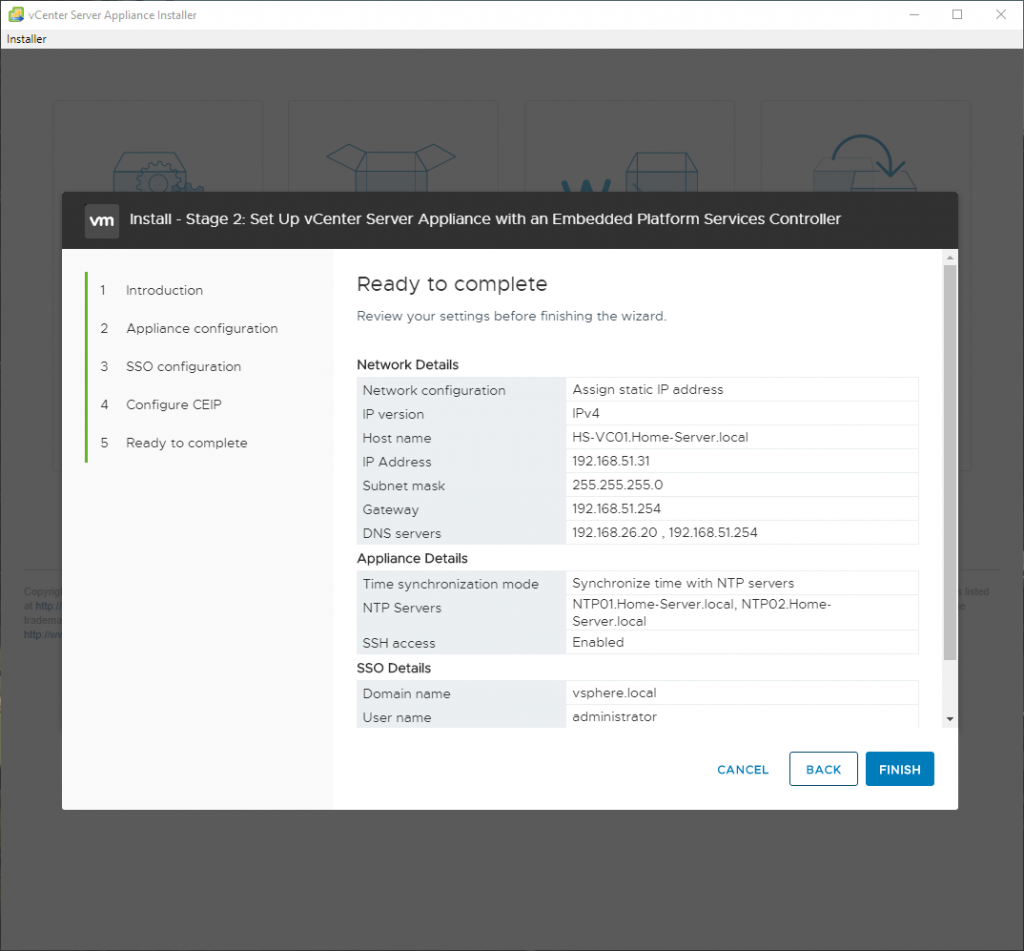
Ready to complete 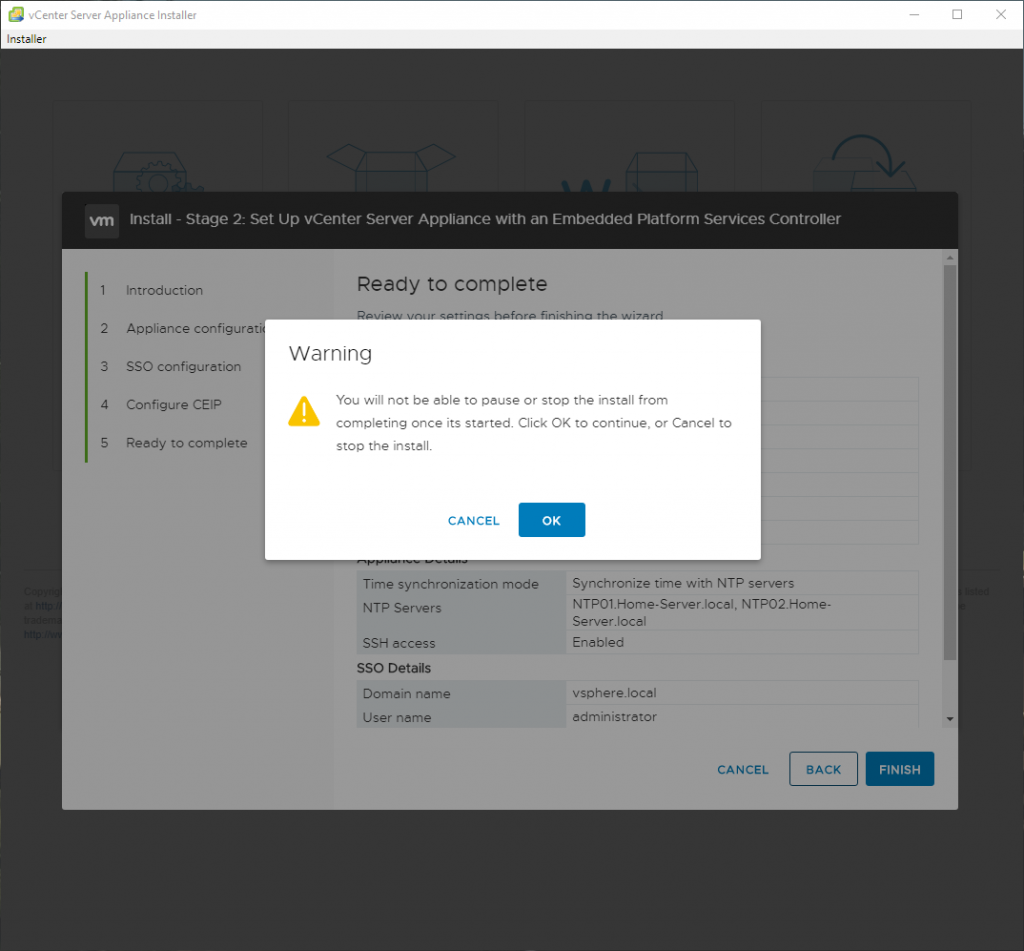
Warning message 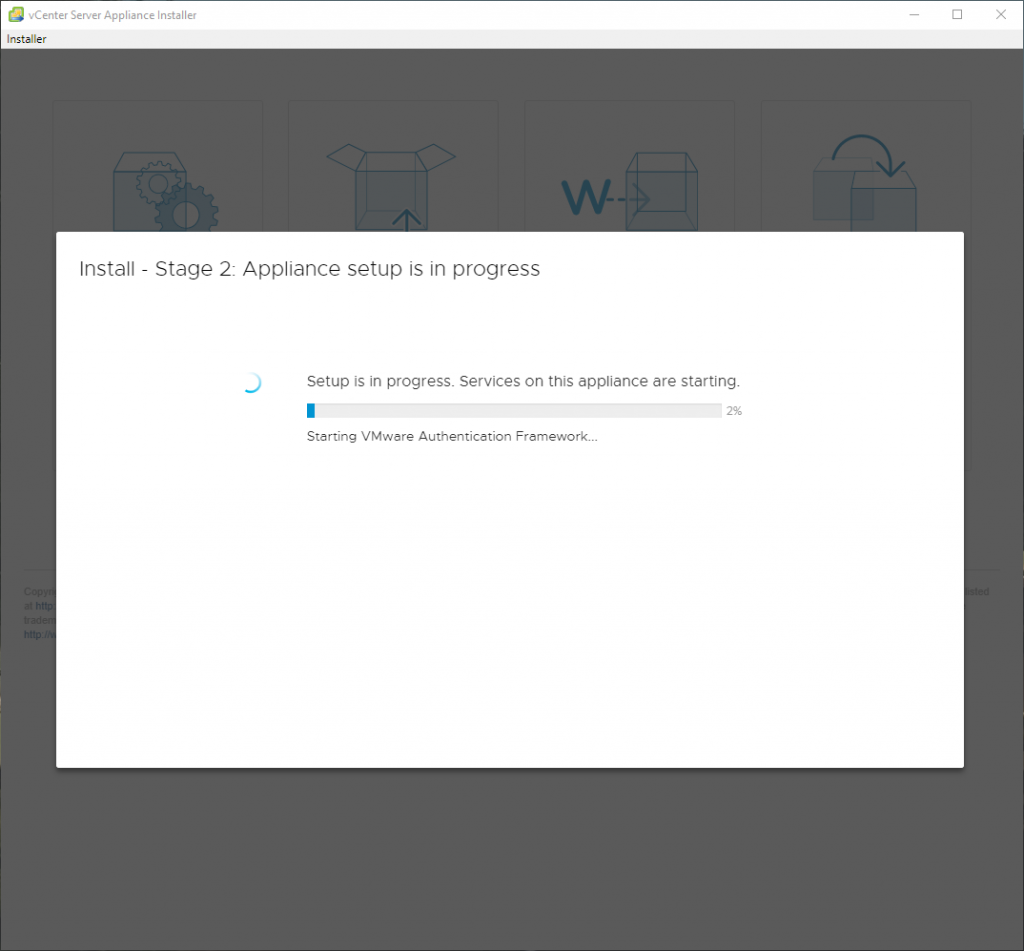
Setting up the appliance 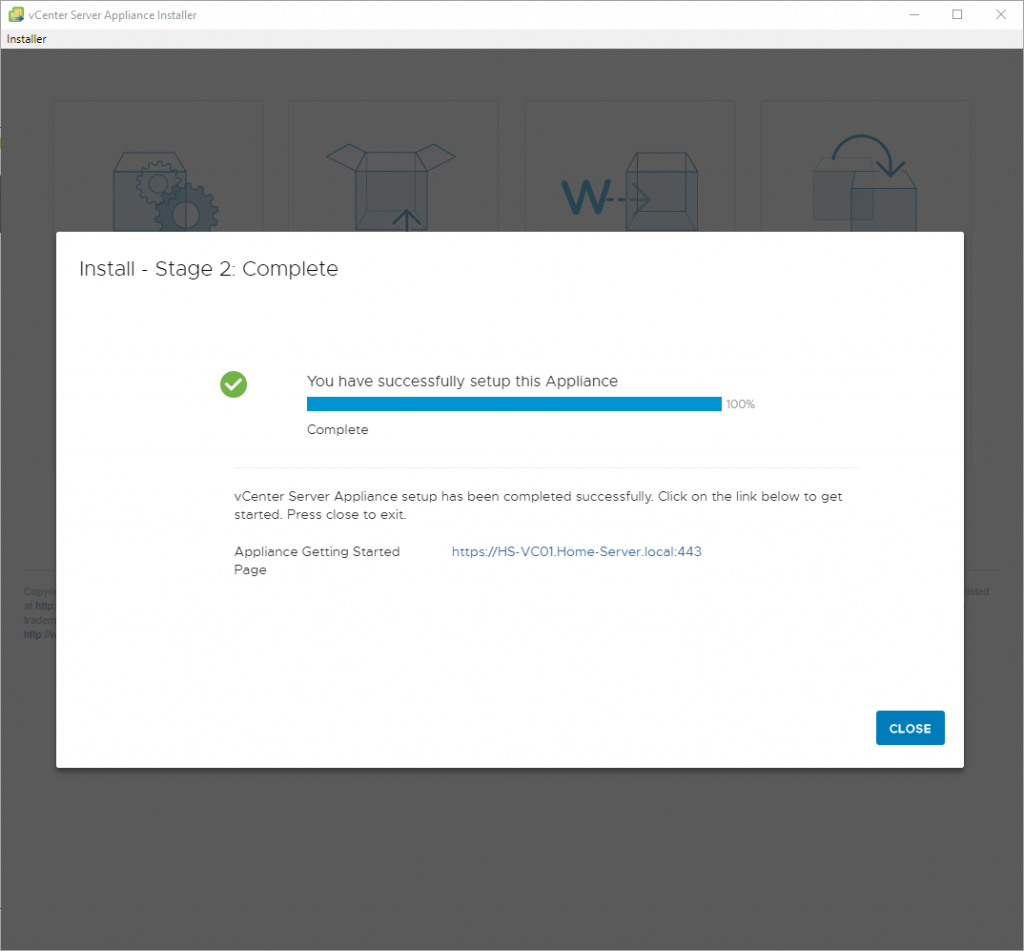
vCenter Server Deployment is completed!
Configuration
After a successful deployment of the VCSA appliance, you need to configure at least some items to get vCenter Server production ready. The items listed below are a basic set of the most common items I see in the field:
- Install the vCenter Server License.
- Active Directory.
- Assign rights & permissions.
- Generate and installation of SSL Certificates.
- Connect the required VMware products and third-party systems.
- Create a datacenter object.
- Create a cluster object.
- Create a distributed switch.
- Join ESXi Hosts to the newly created cluster.
Lab Environment
So how does my Lab environment look like?
- VMware vCenter 6.5.0 Update 2. The target for the vCenter 6.7.0 Update 1 deployment.
- VMware ESXi 6.5.0 Update 2 in the 24×7 environment. Known as the production cluster.
- VMware ESXi 6.5.0 Update 2 in the Lab environment. Known as the lab cluster.
You might ask… why don’t you upgrade the current vCenter Server? Good question! The machine has been converted/upgraded multiple times. It started out in life as a VMware vCenter 5.5 machine, that was on the Windows Server 2012 platform. So it was a good moment to start clean after this many years.
One comment