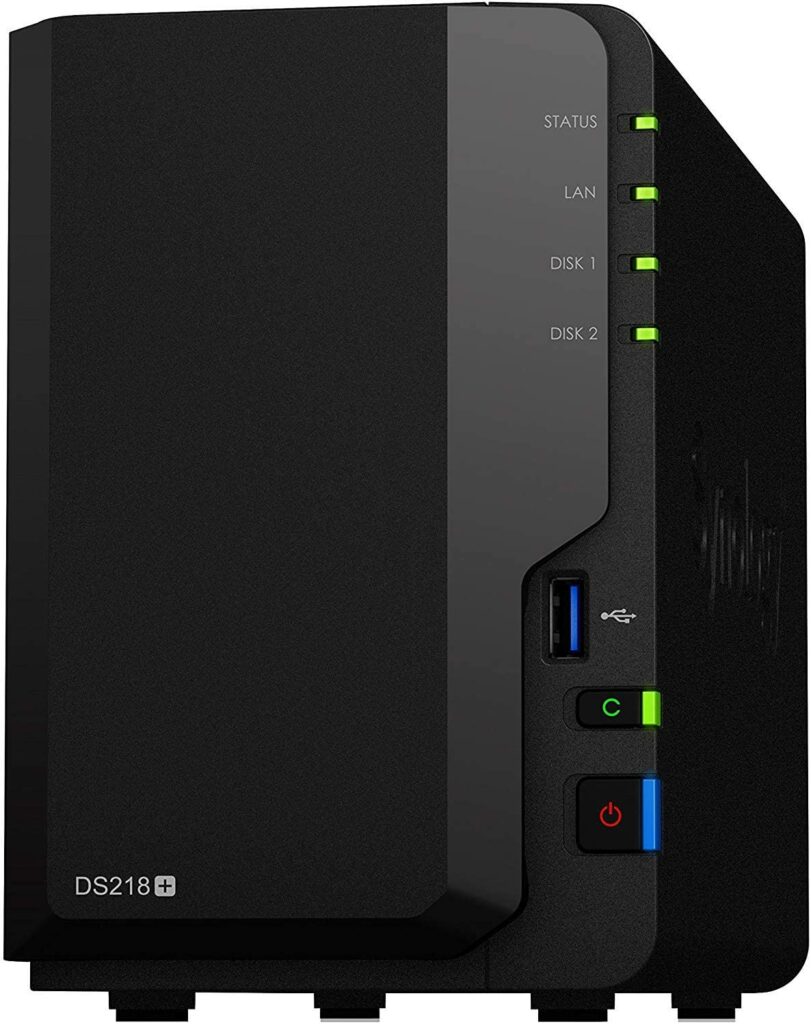
In the blog post, we are going to work on a Synology DS218+ Memory Upgrade. By default, there is 2GB of memory installed but you are able to upgrade the memory to more!
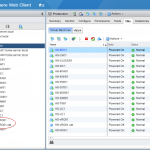
So why do I need more memory? I am currently using the Synology package called Cloud Sync to back up my data to Amazon AWS S3. Based on my monitoring information about the Synology DS218+ it is having issues with its amount of memory installed by default. Sometimes the device becomes completely unreachable for a couple of seconds/minutes because of the load that is generated by the backup that is running and that is of course less than ideal.
So it was time to figure out what was possible with the Synology DS218+, I have created a simple overview based on the information from the vendor his website and added some community feedback:
| Item | Specification |
|---|---|
| Vendor: | Synology |
| Model: | DS218+ |
| Out of the box memory size: | 2GB |
| Maximum memory size: | 6GB |
| Maximum memory size (unofficially): | 8GB+ |
Note: Yes I have read about people that are actually running with more memory than 8GB. In my opinion, you need a use case for that and that is not something I have for this device.
Memory module
So there are multiple ways to deal with the Synology DS218+ memory upgrade:
- Option 01: Just add a 4 GB module to memory slot 2 > Results in 6GB running on two different vendors
- Option 02: Remove the 2GB module and only install the 4GB module > Results in 4GB running with one single module
- Option 03: Removing the original module in slot 1 and installing in slot 1 and slot 2 a new module > Results in 8GB running on one vendor.
Another option is to install original modules from Synology, but those modules are in the country where I live in about 80% more expensive. So based on that information I was not an economical option in my opinion for just adding 4GB of memory in 2021 :|. Keep in mind the road I took is officially not supported by Synology also the memory module triggers are warning after every startup of the device that the memory that is installed is not verified/supported.
I ended up with option 01 and if that would not work I would go for option 02. So I bought the following memory module on Amazon, based on the Kingston memory configurator page to identify the correct memory for your device:
- Vendor: Kingston
- Type: HyperX Impact 1866 MHz 4GB
- Artikel number: HX318LS11IB/4
- Costs including shipping: € 27,50

Installation & Result
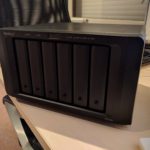
After the memory module was delivered it was time to start the installation. To put it into perspective it is really a walk in the park. You do not need any screwdrivers are other components if you are installing or removing a module in slot number 2!
Side note: If you want to remove the memory module in slot 1 that is a whole other story… there is some information floating around on the internet but that is the other side of the spectrum. It means completely removing the motherboard etc. Here is a great YouTube video on that.
Memory installation – procedure:
- Power off the device.
- Remove the connected cables like UTP and power.
- Put the Synology on your desk.
- Remove the hard drive that is nearest to the front panel LEDs and power button.
- Look into the device and you will see an empty memory slot.
- Place your newly bought memory module into the slot.
- Put back the removed hard drive.
- Connect the cables back up.
- Power on the device.
- The boot will take additional time because of a memory validation that is running (took about 15 minutes extra).
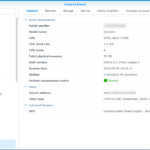
- The device will finally be available and verify the DSM information page.


Wrap-up
So that was my blog post about the Synology DS218+ memory upgrade. I have been running the current setup since October 2020 and I can tell you it is completely stable. You can see the uptime in the Synology DSM screenshot 82 days and counting.
If you got additional questions or remarks please respond in the comment section below. Thanks for reading my blog post and see you next time.
If you use the rare and expensive 16GB modules, I bet this unit can support 32GB via replacement of both modules.
Hello Samir,
Thanks for your reply. More than 8 GB memory will not be allocated. It will detect 32GB in some cases but it will not allocate the memory (meaning it will not use it).
This is the CPU that is fitted in the DS218+:
– https://www.intel.com/content/www/us/en/products/sku/95597/intel-celeron-processor-j3355-2m-cache-up-to-2-50-ghz/specifications.html
Kind regards,
Mischa