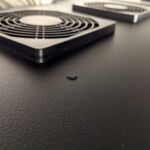
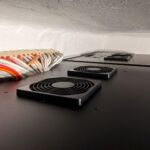
For the last couple of months, I was busy making my new patch cabinets ready for use. One of the things I noticed with the Digitus patch cabinet is that there are openings on the top by default for the fan installation (fan holes/mounting holes). This is great for people that install the optional fan kit from Digitus but not everyone needs active fans and it is about 210/230 euros.
When you do not install the optional fan kit you will run the following problem… dust! The openings and holes on top of the cabinet allow dust to fall into the cabinet on top of your patch panels and switches. When cleaning the cabinet you need to be careful so you do not swipe the dust into large fan mounting holes and bolt hols.
So it was time to look for a solution without buying the Digitus expensive optional fan kit for basically no reason in my case… One of my requirements was no drilling or modifying of the cabinet because that would inevitably block me from installing the fan kit (in case I ever need them).
Part List
So let’s get started here is an overview of the part that I ordered online for one enclosure:
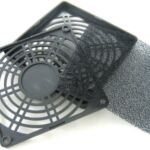
- 2x Fan Filter (AABCOOLING Plastic Filter 120 Black OFG016 @ Amazon)
- 8x Bolt (Bolt m5x12mm @ RVSpaleis)
- 8x Nut (Nut with locking @ RVSpaleis)
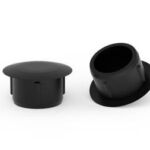
- 12x Plastic covers for 5 mm holes (Premium Afdekdopjes voor Boorgaten (specifications: 5 mm / RAL 9005 black) @ UwCover.nl)
- Total costs: ~ 30 euro
- Saving: ~ 220 – 30 = 190 euro
- Percentage: ~ 86%
Keep in mind:
- The items were ordered in The Netherlands (Yes, it is a country on planet earth).
- The items were ordered in June 2022.
- The prices might change over time.
Photos
In my home, I have two of the same Digitus Patch Cabinets mounted next to each other. That is why some of the pictures look double ;). No worries you do not have to go to the optometrist!
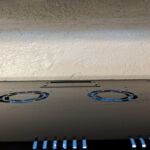
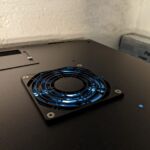
So here is a photo of the top side of the patch cabinet before the installation, as you can see large holes that attract a lot of dust. As you can see there are bolt holes and fan holes. Both of those we are going to cover up.
Here is a list of the parts that I ordered: Some basic product images to give you an idea of what you need. The links to the webshop are listed in the parts list.
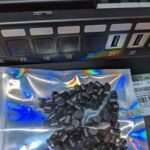
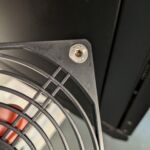
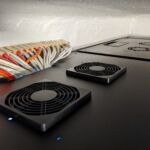
Here are the photos when installing the parts for covering the fan holes in the cabinet. The last picture is the final result of both patch cabinets in a row.
So here is the result after installing all the components on both of the patch cabinets, the fan holes and bolt holes are covered and no dust gets in anymore:
Wrapup
In my opinion quite a nice retrofit for the Digitus patch cabinet and not too expensive. The nice thing is you can just remove the fan covering and everything is back to stock. This makes it possible to install the Digitus fan kit unit at a later stage without limiting yourself.
This wraps up the blog article hopefully it is useful for somebody, please respond below if you have any comments or additional information! See you next time! 🙂
